Exploring Rahopara Point to Red Bluff
Located on Auckland's North Shore, the walk from Rahopara Point and Kennedy Park to Red Bluff is a captivating section of the North Shore Coastal Walk, also part of Te Araroa. This scenic route stretches between Castor Bay and Campbells Bay, passing through the historic Rahopara Pā on Rahopara Point.
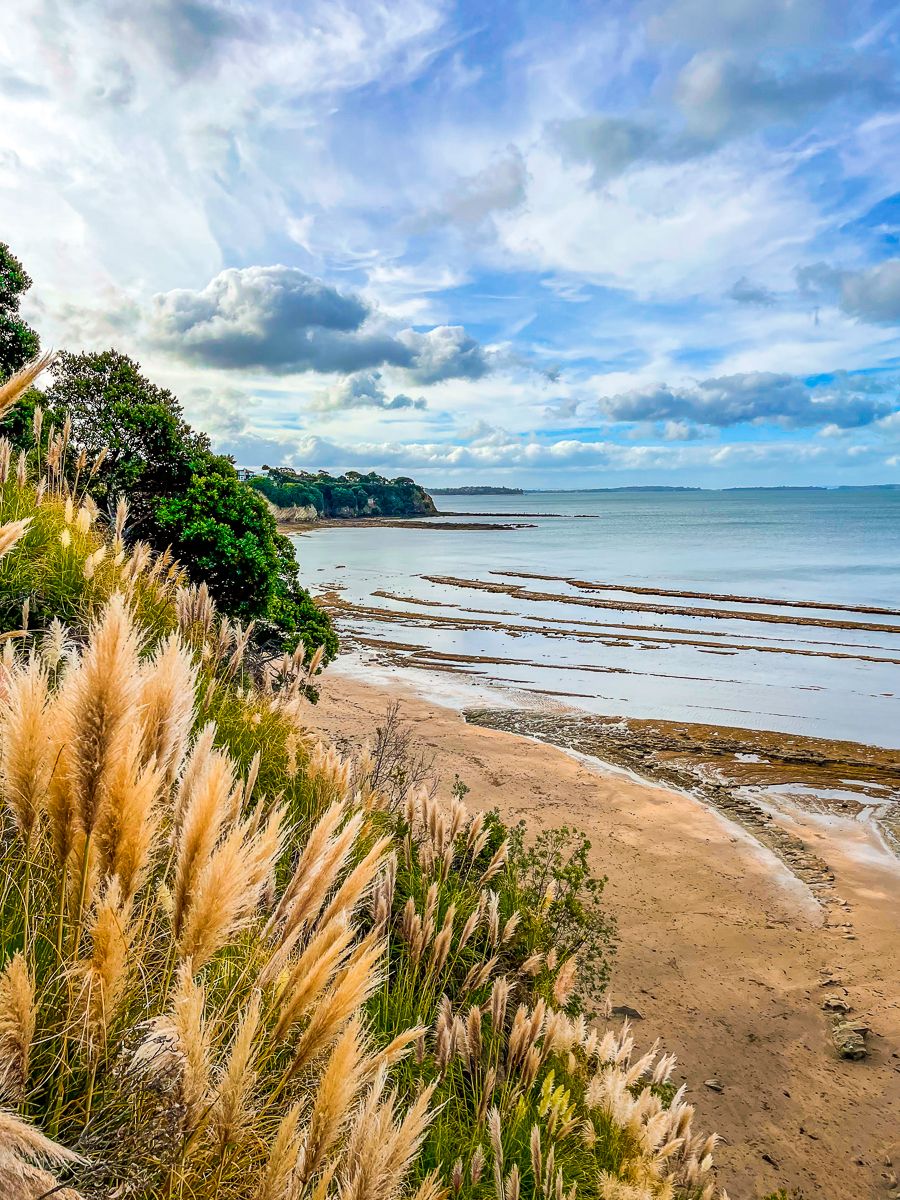
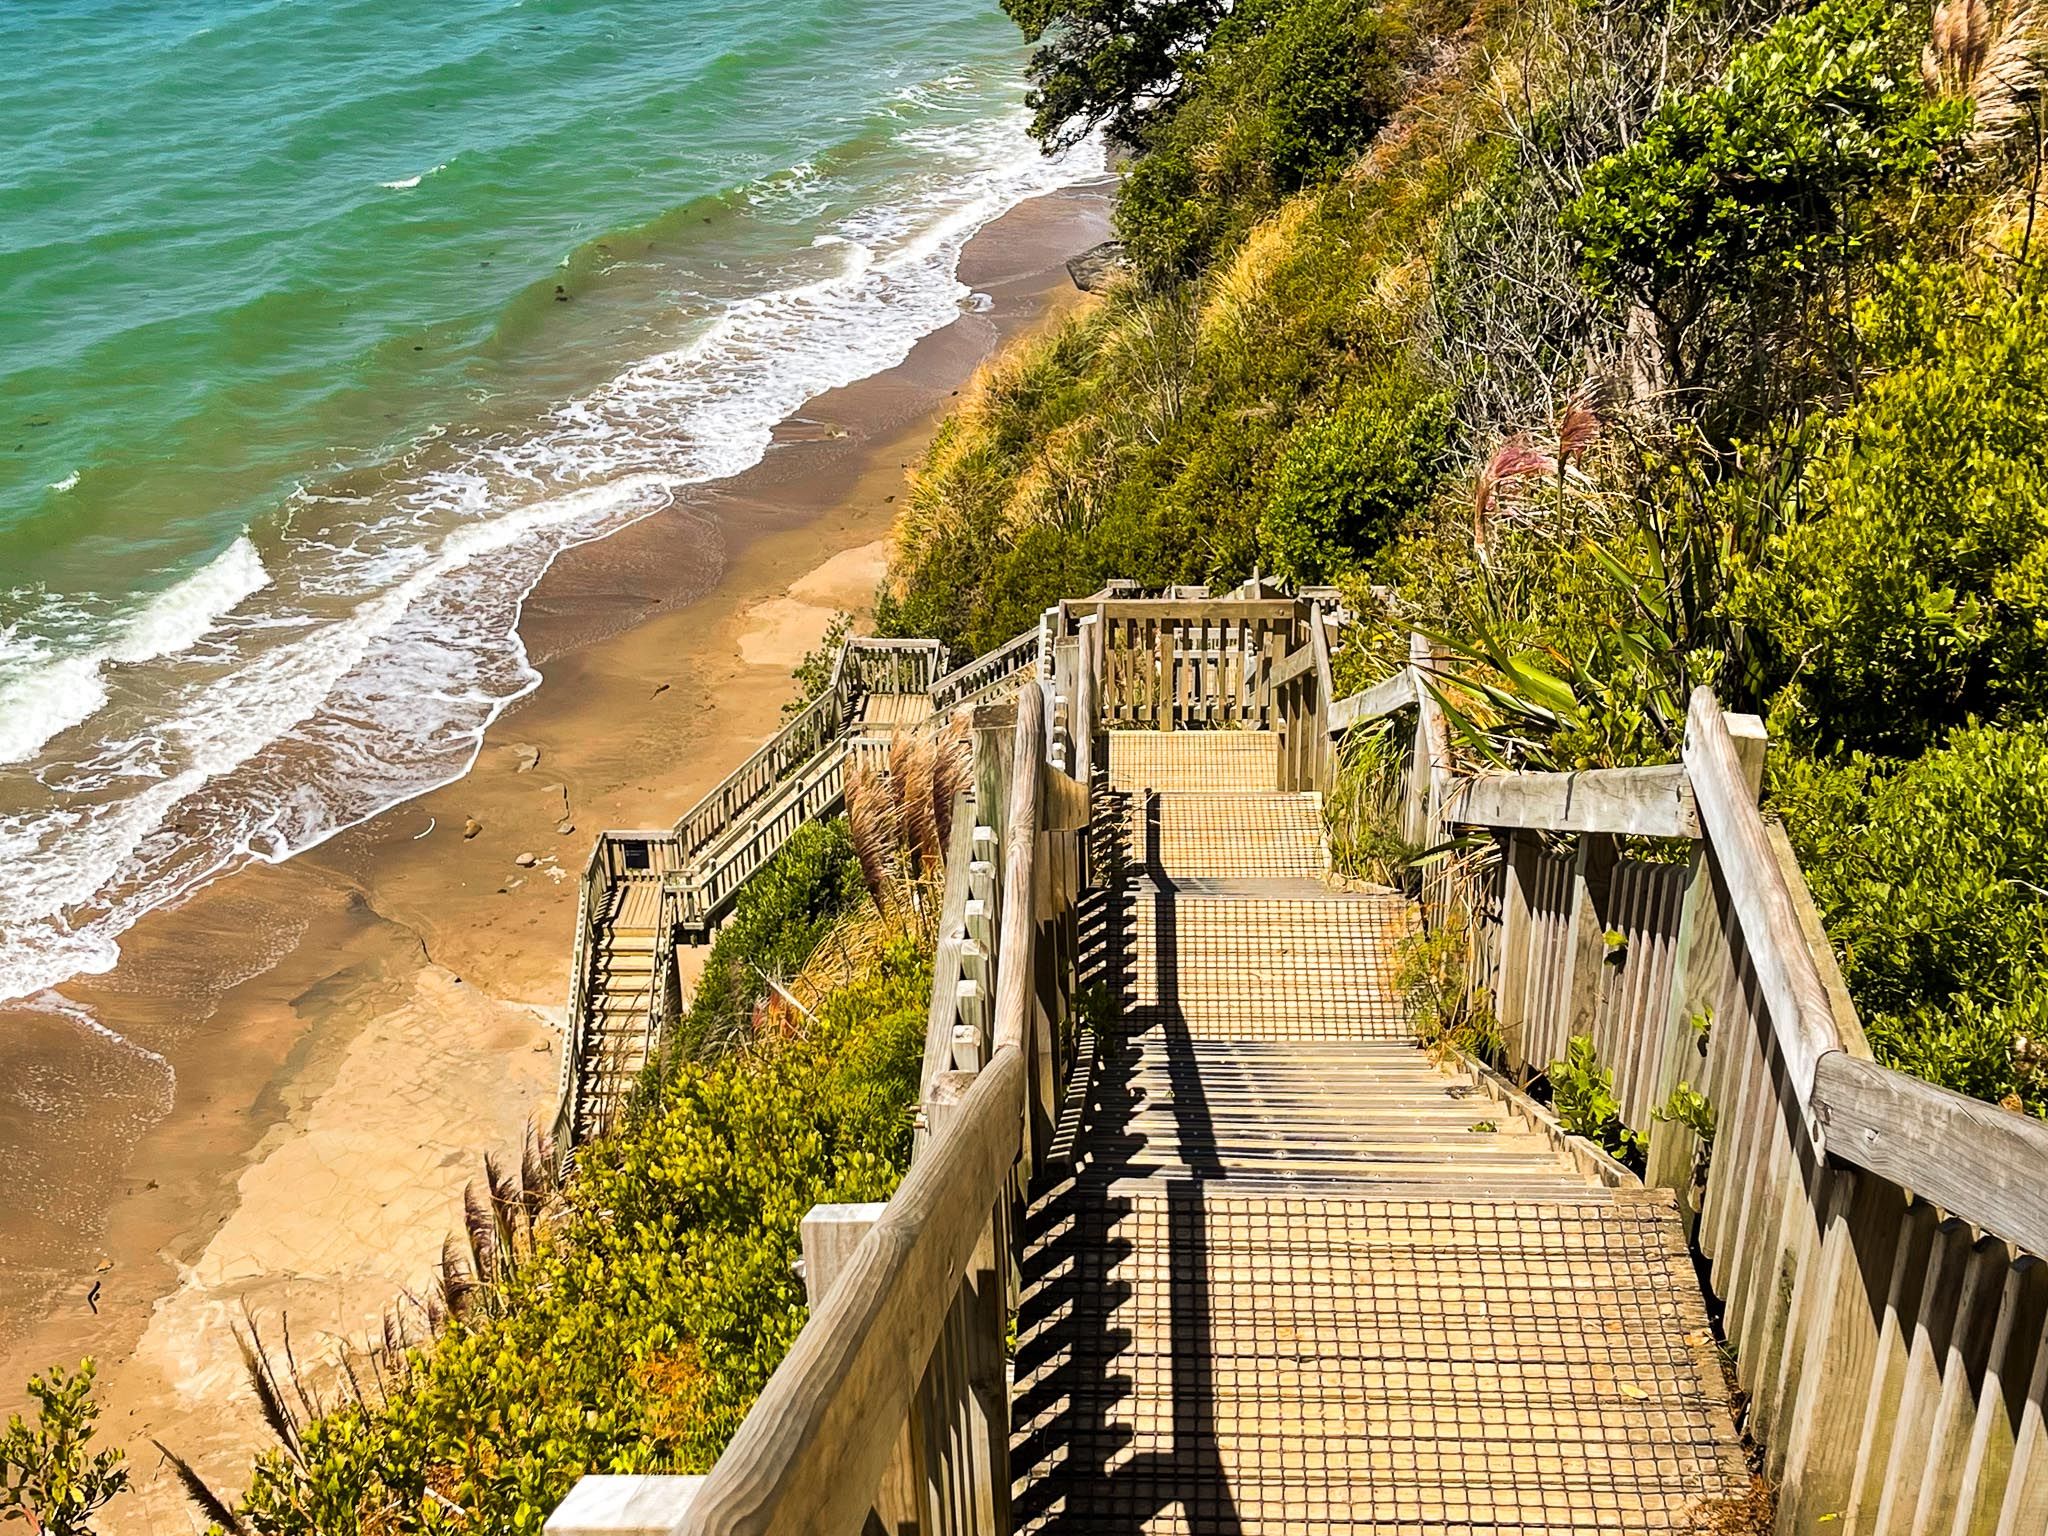
Stunning Coastal Views and Cliffs
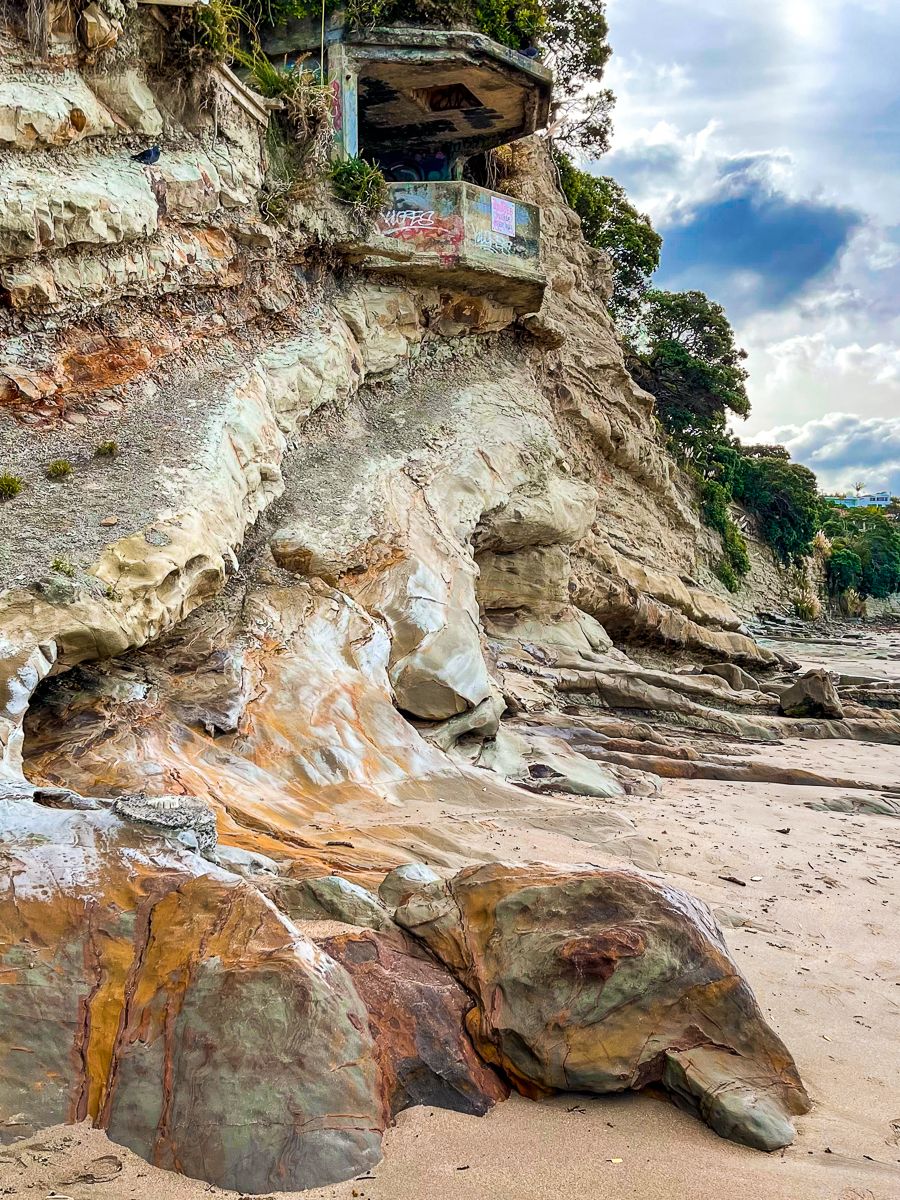
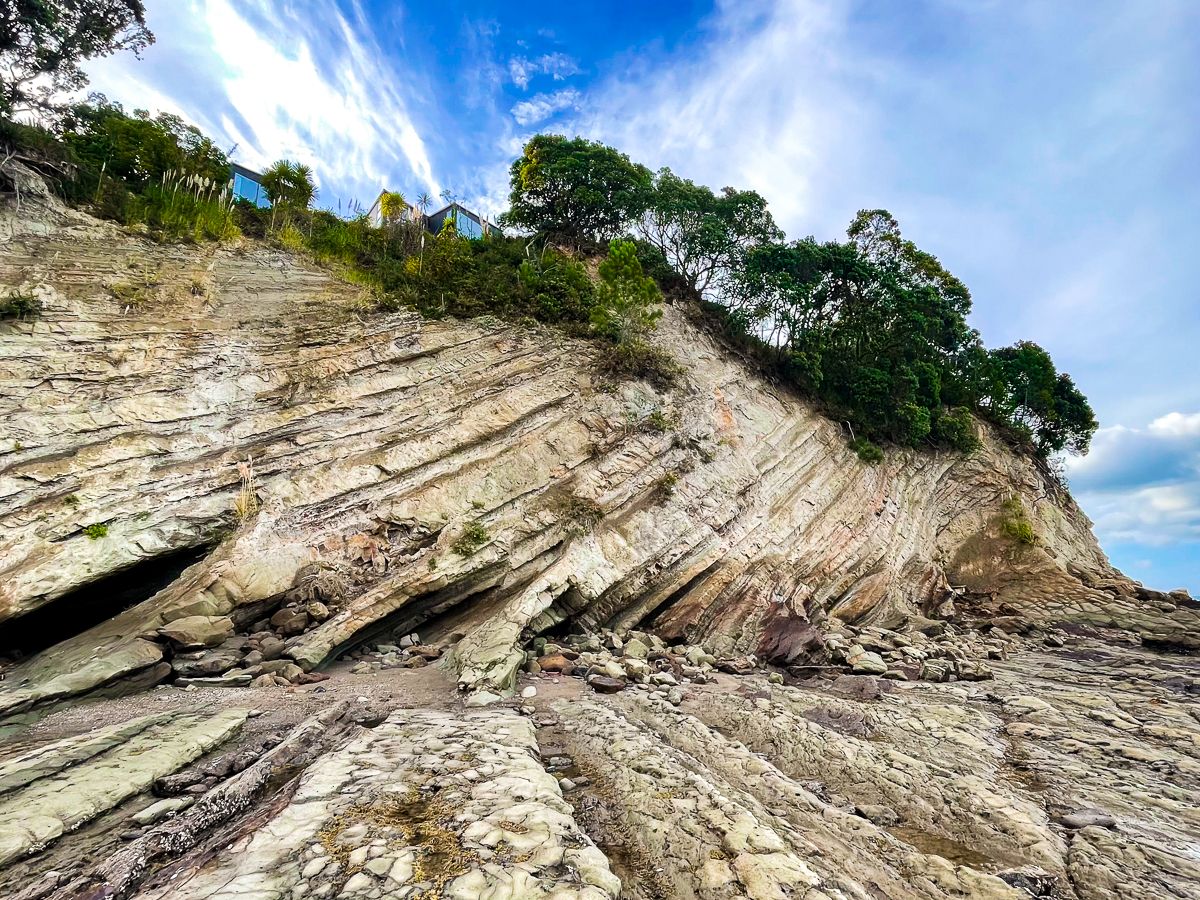
Begin your journey by crossing the park and descending the Kennedy Park stairs, which offer breathtaking views of the coastline. Walking along the foreshore to Red Bluff is best undertaken at low tide. The cliffs here are over 20 metres high and extend for approximately 2 km. They are a geological marvel, showcasing twisted shapes and curves formed by millions of years of pressure, uplift, and erosion.
Historical and Natural Features
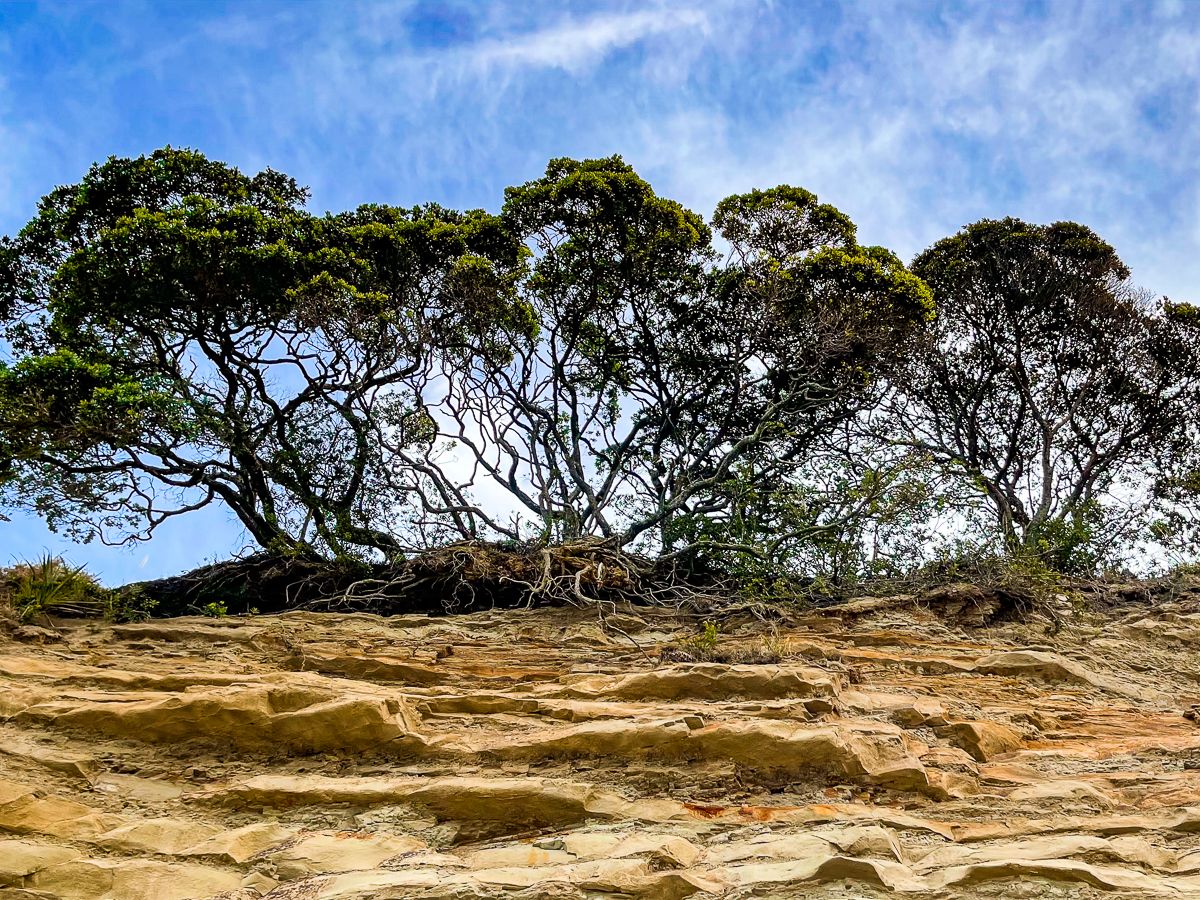
Exploring the foreshore, you will encounter remnants of World War II gun emplacements, now covered in graffiti and slowly crumbling. One has collapsed entirely, leaving a wreck on the beach. The cliff tops are adorned with pōhutukawa trees, which are gradually succumbing to erosion. As you head north towards Red Bluff, the beach becomes rockier, resembling a series of rocky tracks that mirror the cliff's formations at unusual angles. Houses perched atop the cliffs add to the dramatic landscape, though they face the ongoing challenge of erosion.
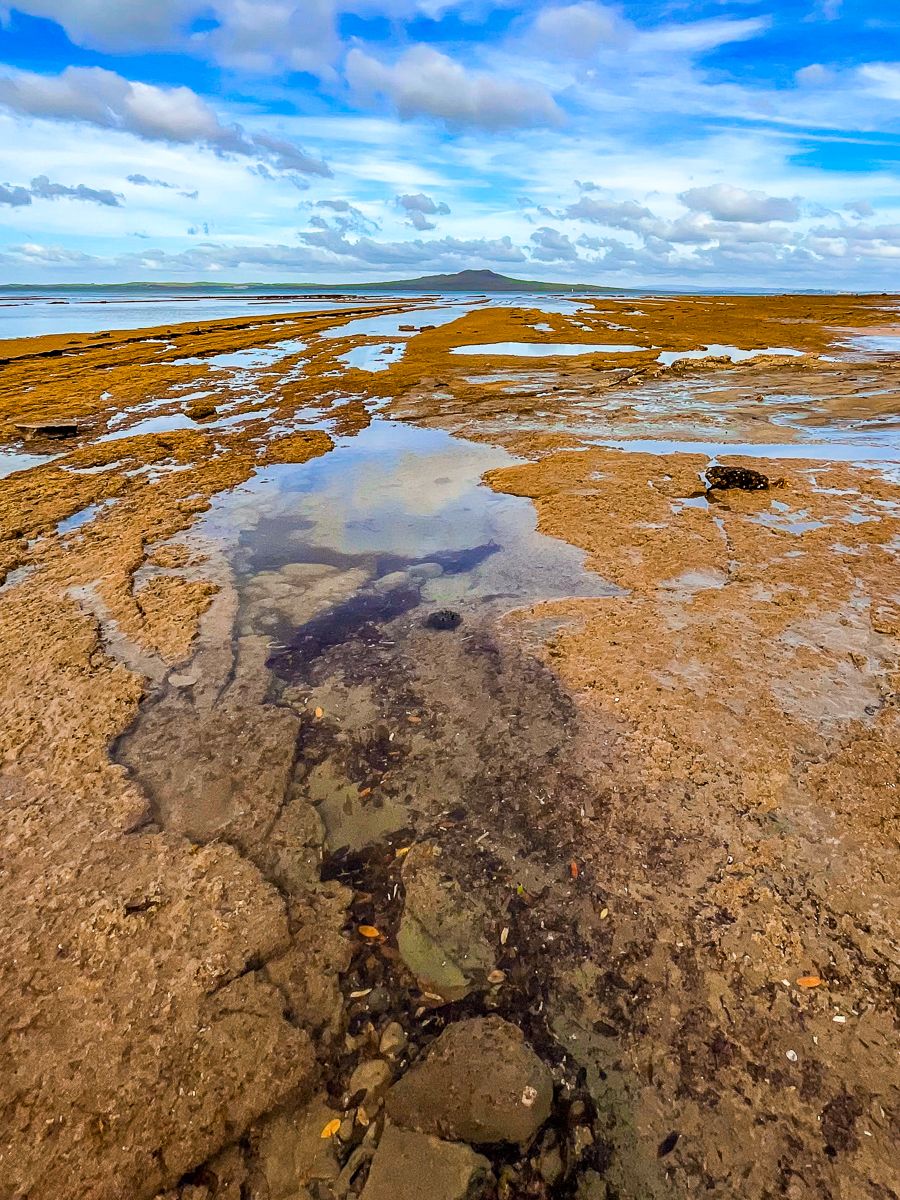
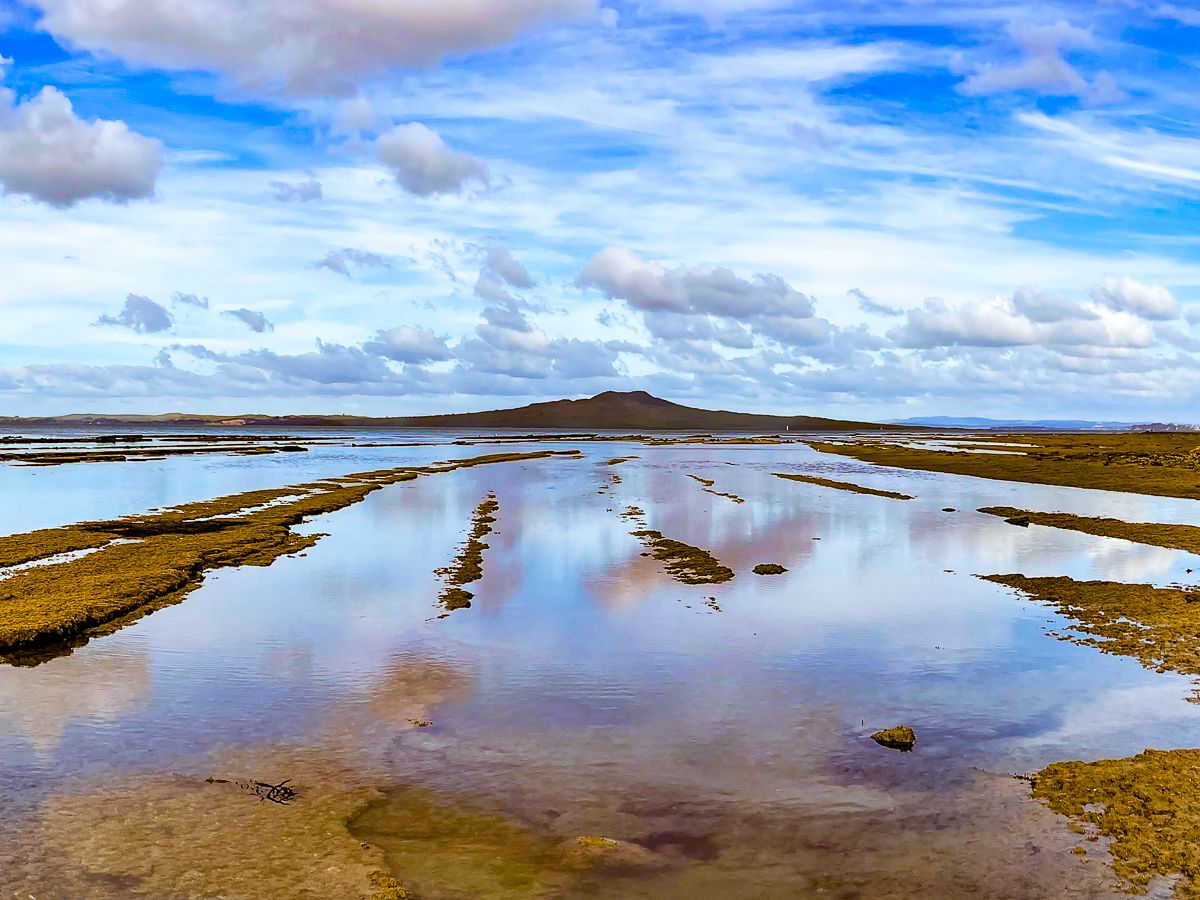
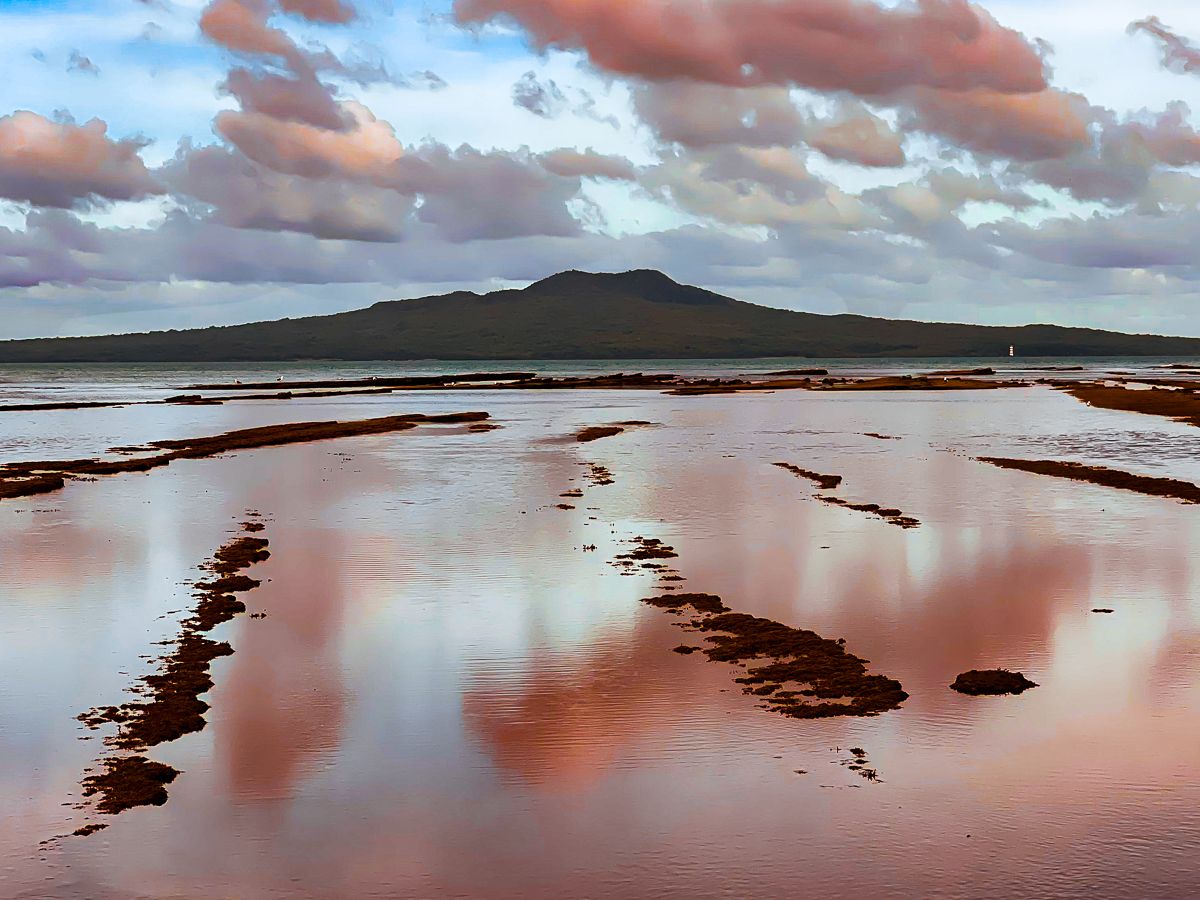
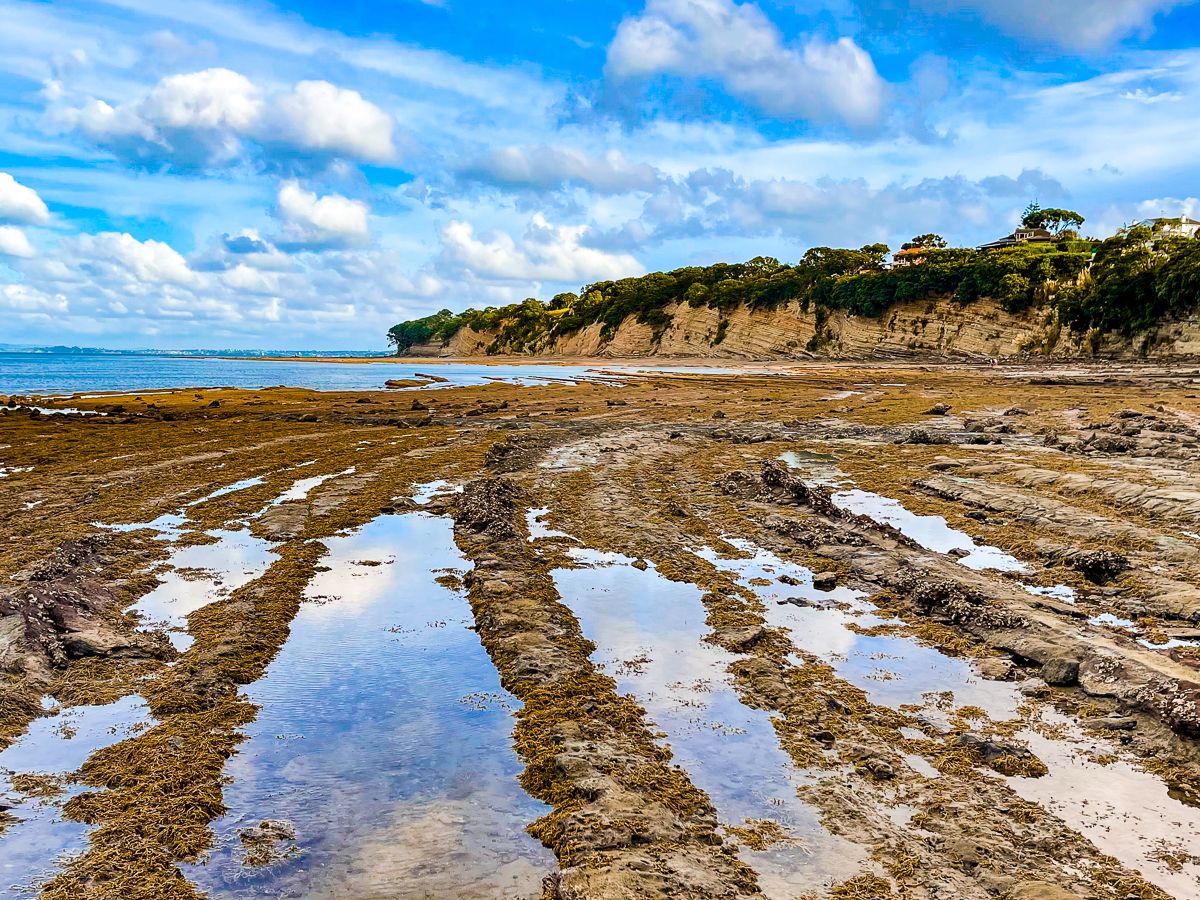
Beach and Reef Exploration
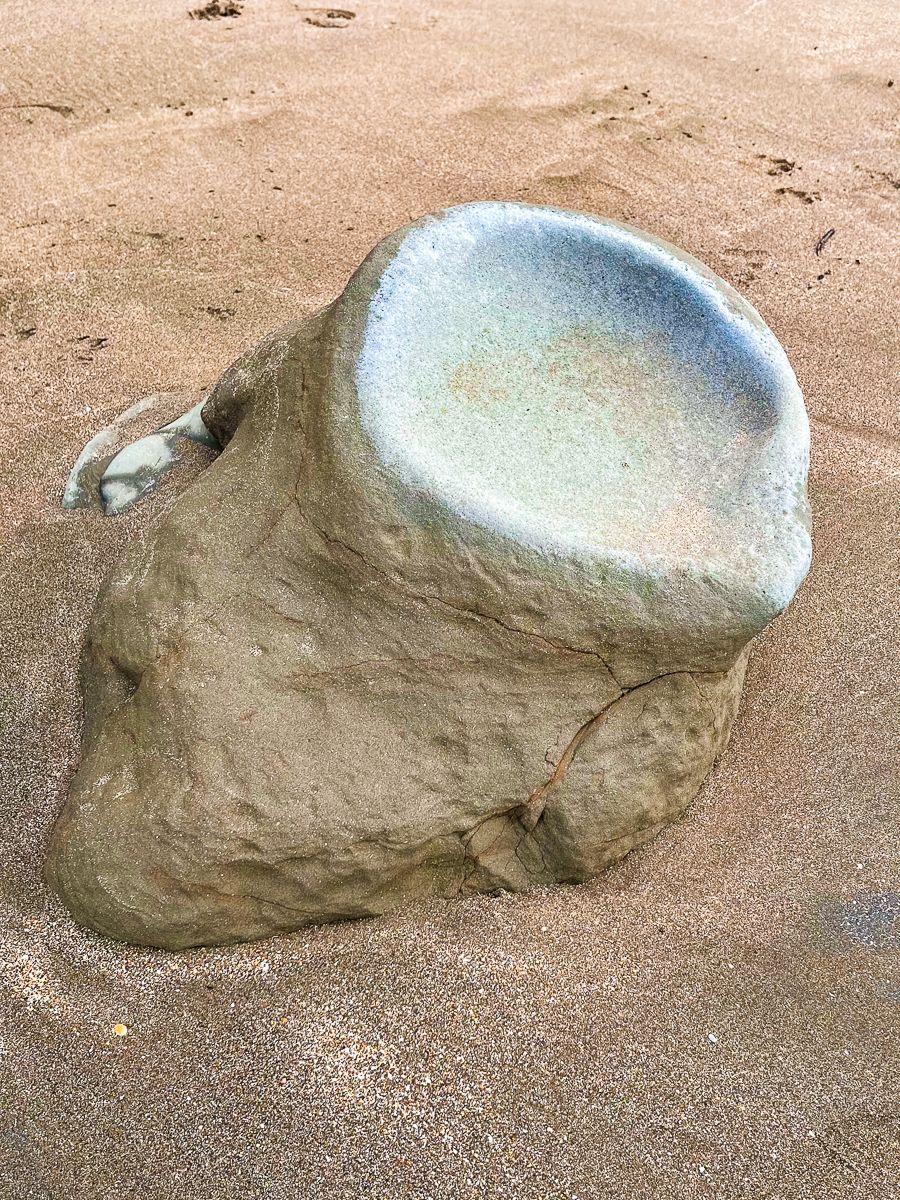
The beach is a mix of sand and rocks, with a reef that becomes accessible as the tide recedes. The reef formations, which align towards Rangitoto, are a notable highlight. Exploring the rock pools at low tide and observing the reflections in the pools is a rewarding experience.
How to Get There
To access this walk, start from Castor Bay on the North Shore Coastal Walk or Te Araroa. Alternatively, you can enter from Beach Road through Kennedy Park. For those beginning at the northern end, start at Campbells Bay and walk south along the beach to Red Bluff.