The Historic Karangahake Loop Track
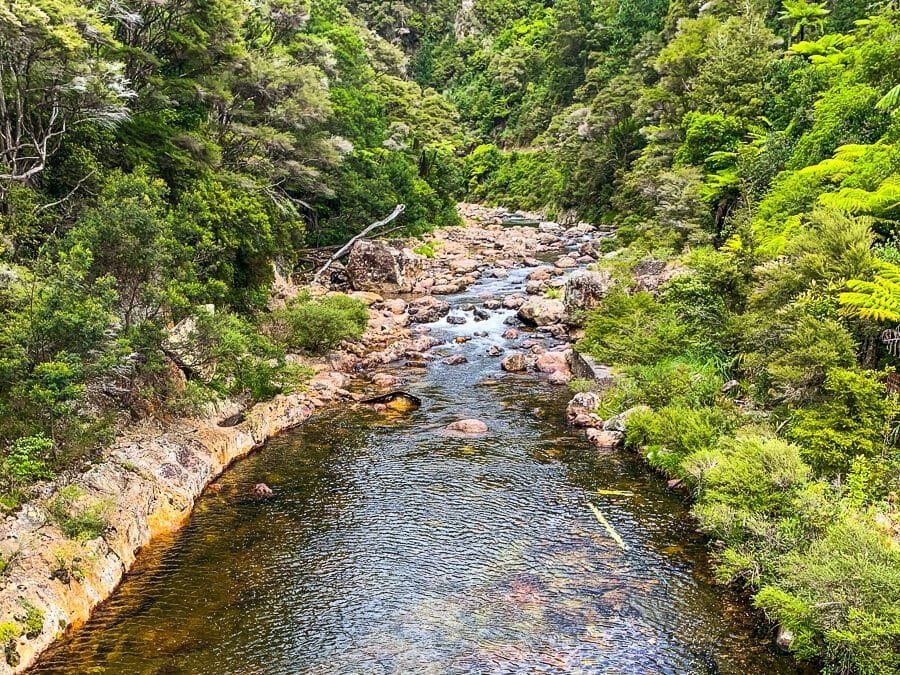
Located in the Karangahake Reserve within the scenic Karangahake Gorge, the Karangahake Loop Track is a fascinating walk through New Zealand's gold mining history. This track is a unique opportunity to explore relics from the area's past while enjoying the gorge’s natural beauty and rapids.
Starting Your Walk
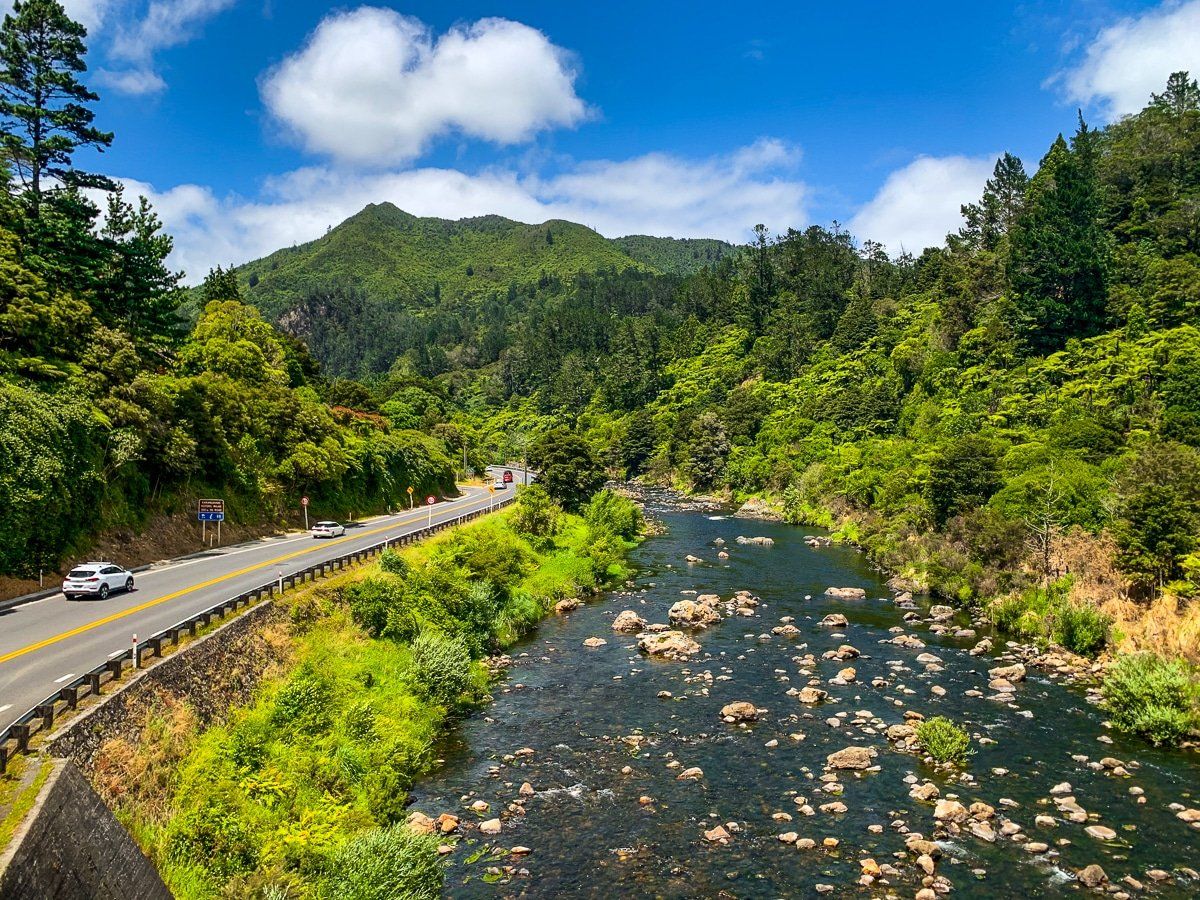
Begin your walk at the large car park at Karangahake Reserve, where you can see many remnants of the early gold mining era. From here, head north along the shared cycle and walking trail on the west side of the Ōhinemuri River towards the hamlet of Karagahake. Alternatively, you can start your walk from Karangahake by parking near the community hall.
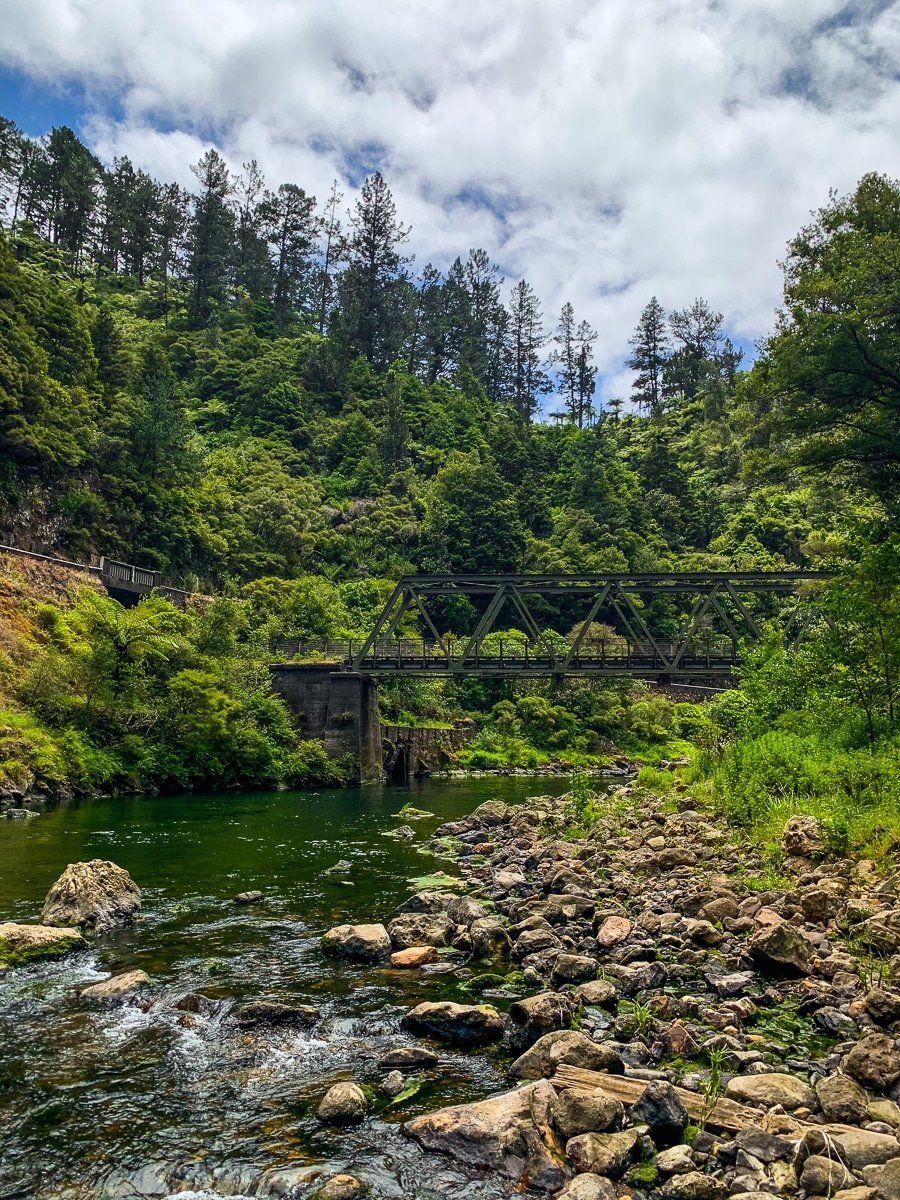
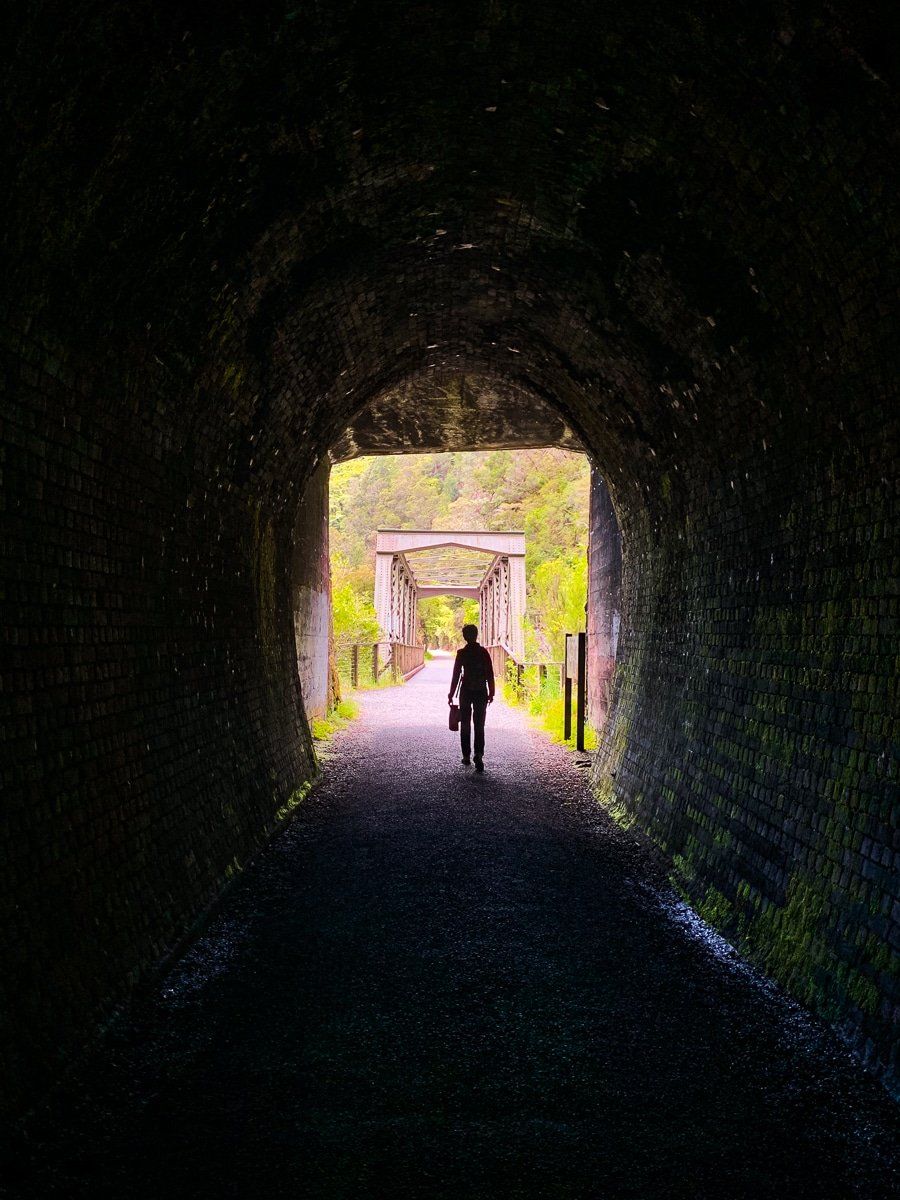
Crossing the River and Tunnel
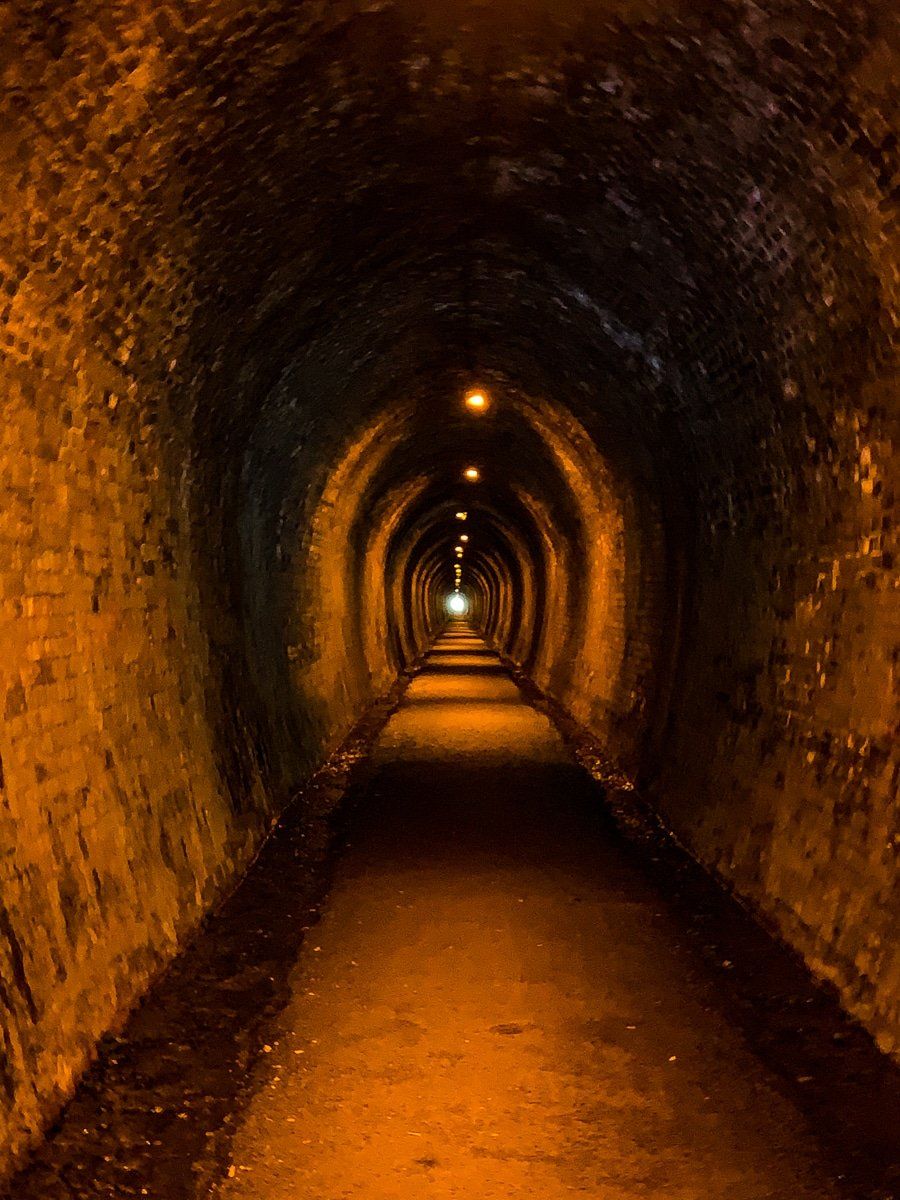
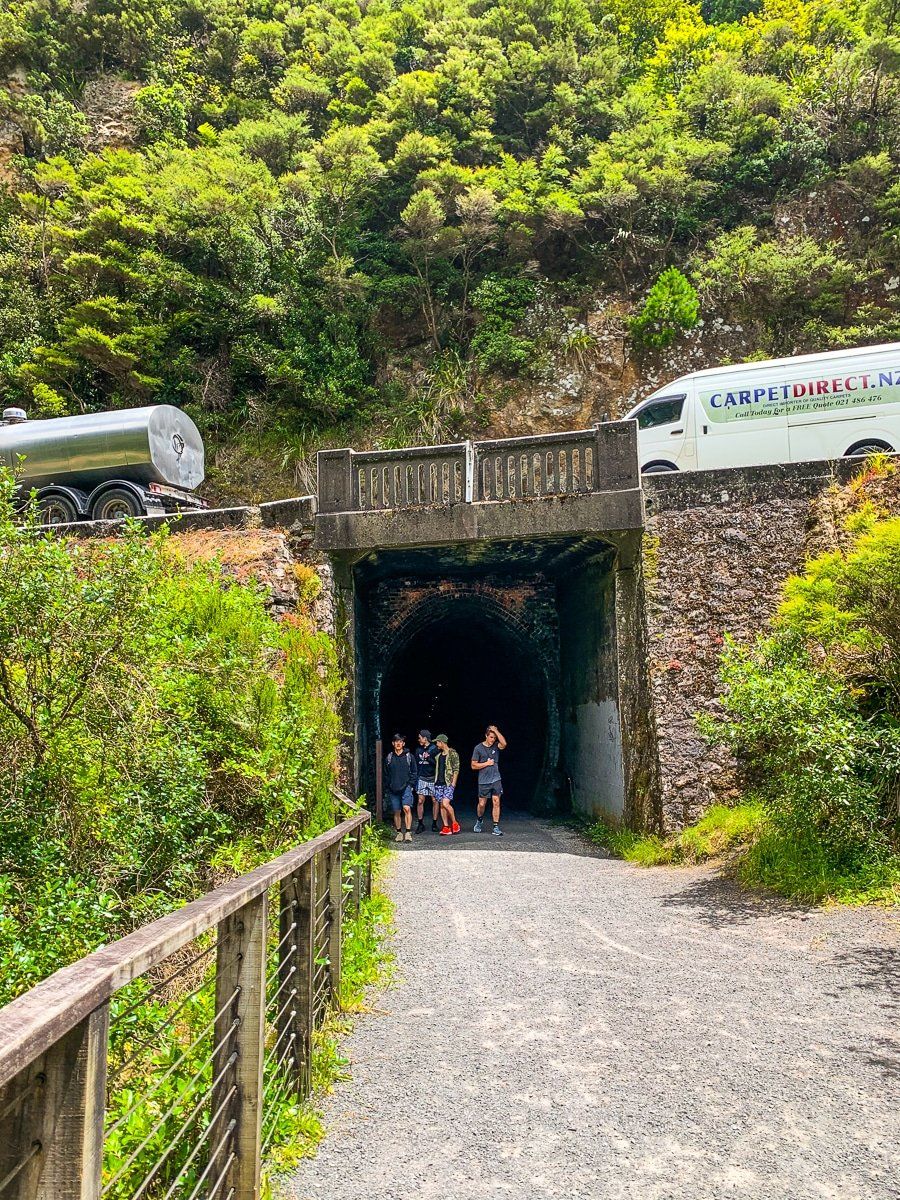
From Karangahake, cross the river and State Highway 2 using the shared path on the two-story bridge. This path leads you through a 500-metre former railway tunnel on the east side of the gorge. Upon exiting the tunnel, cross the second bridge to return to the west side of the river. Continue north along the walking track towards Karangahake Reserve.
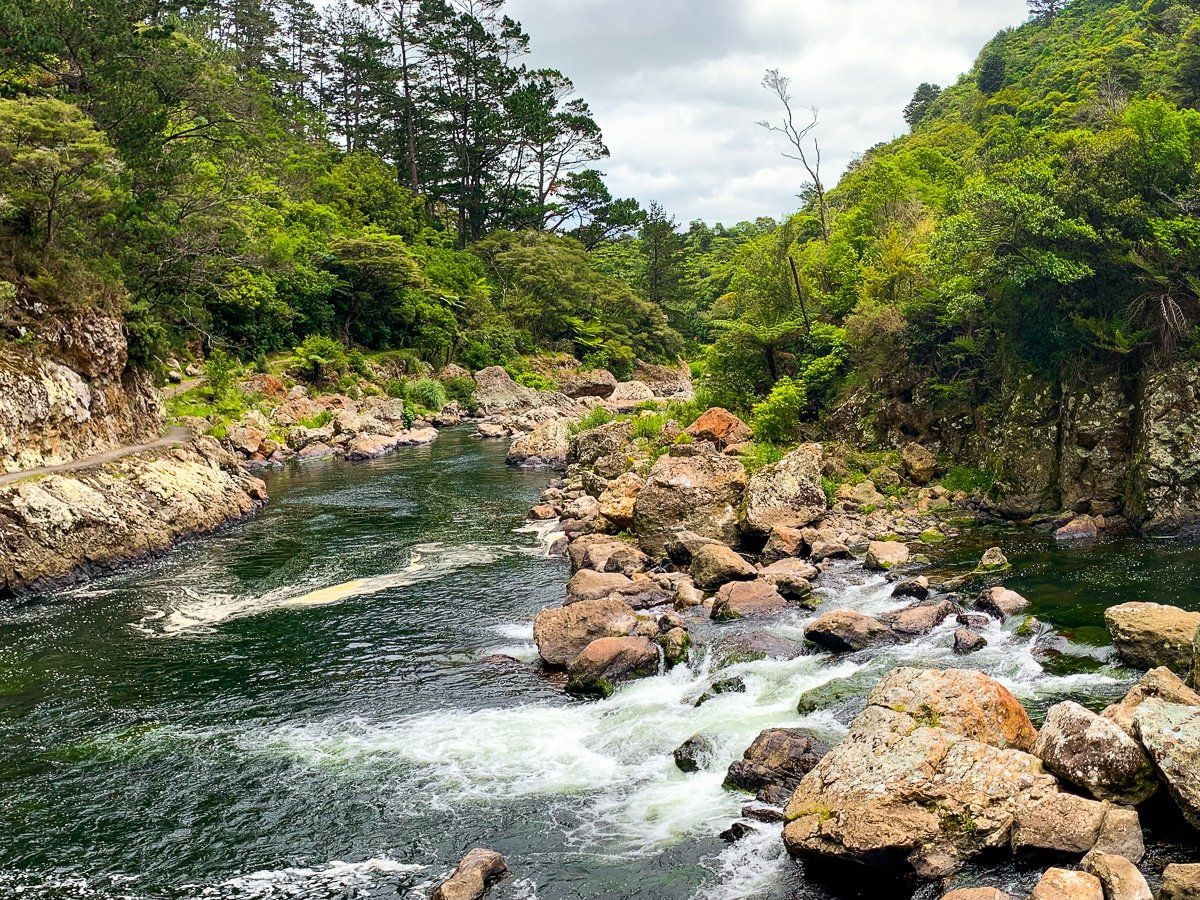
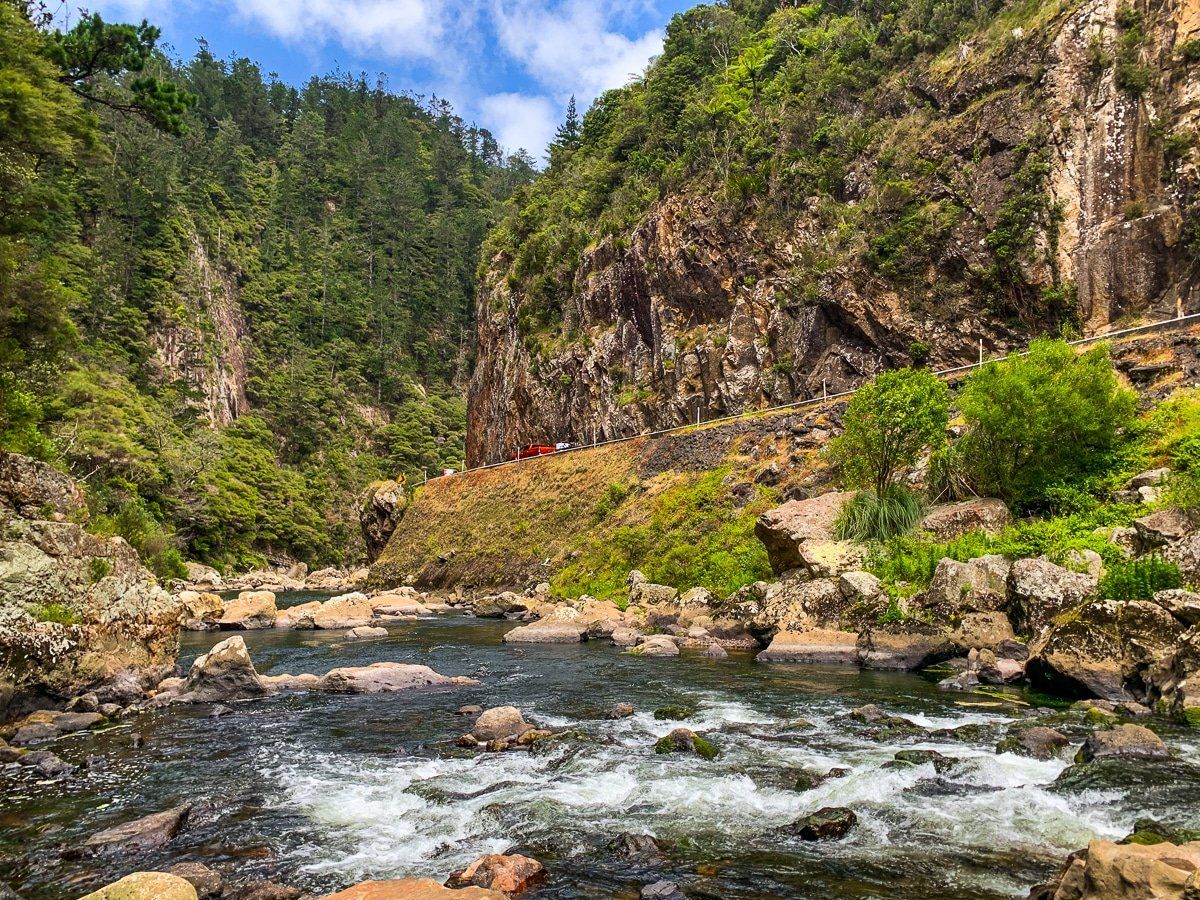
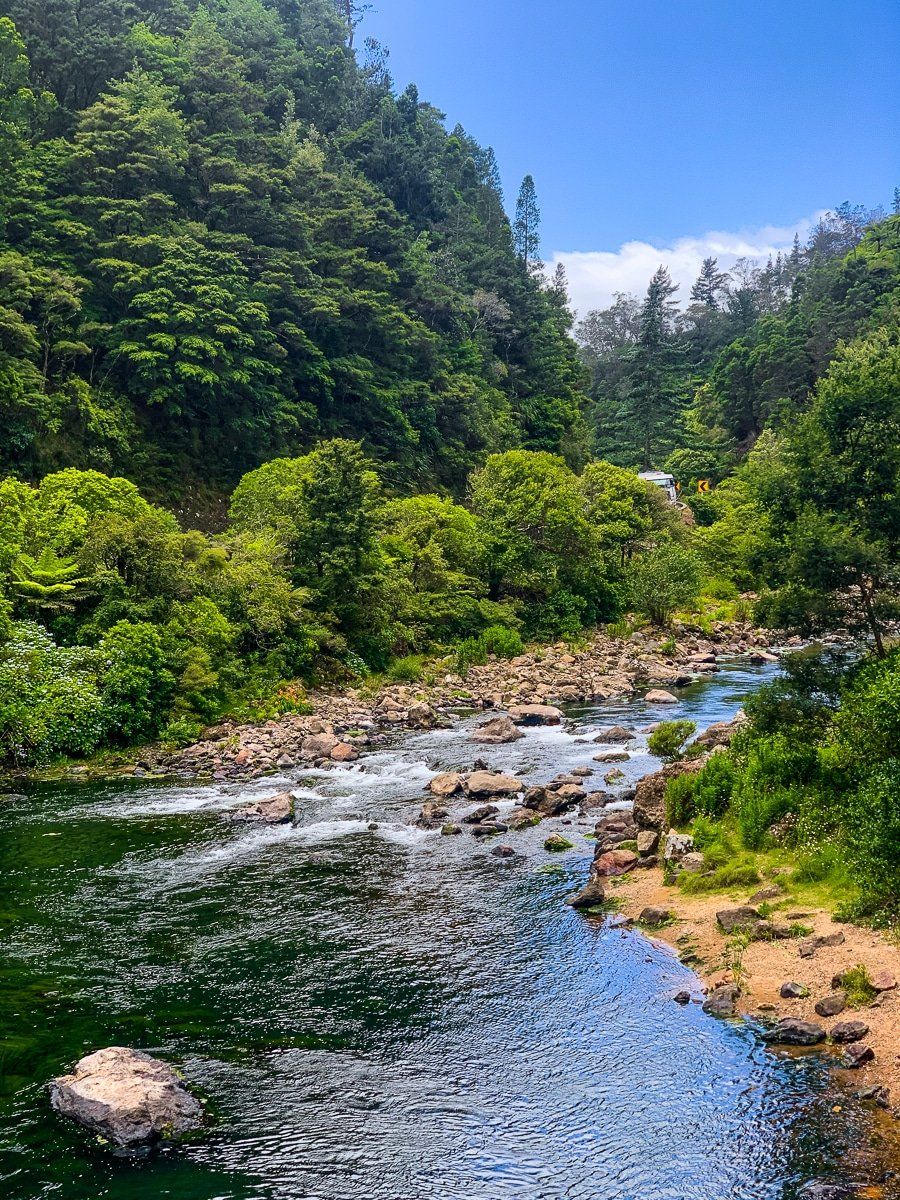
Discovering the Rapids
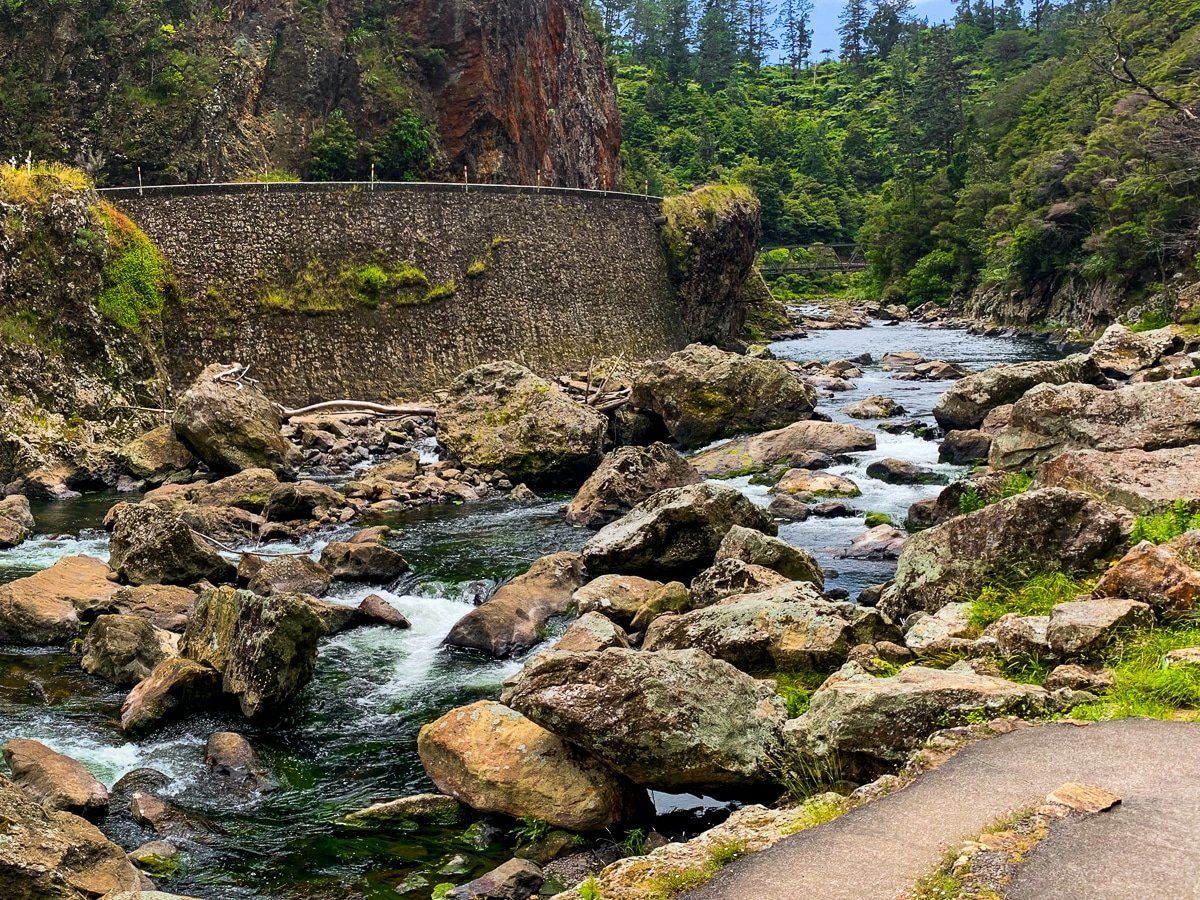
The walking-only track on the west side of the river, after the tunnel, is carved into the side of the cliff above the rapids. It is rougher than the track on the east side, but still easy walking, and the best way to experience the rapids that flow through the narrowest part of the gorge. This section also highlights the impressive engineering feats required to construct a road and railway line to the Bay of Plenty.
How to Get There
From Auckland, take the southern motorway to the State Highway 2 off-ramp, then follow State Highway 2 all the way to the Karangahake Reserve in the gorge. Park there or at nearby Karangahake. The drive takes 1`30 minutes and is 138 km. From Hamilton, it is 65 minutes and 86 km, and from Tauranga, 62 minutes and 71 km.
While in the reserve, check out the Windows Walk, another superb walking option. Continue east along the gorge to Owharoa Falls, Waikino, the Victoria Battery and Waihi.